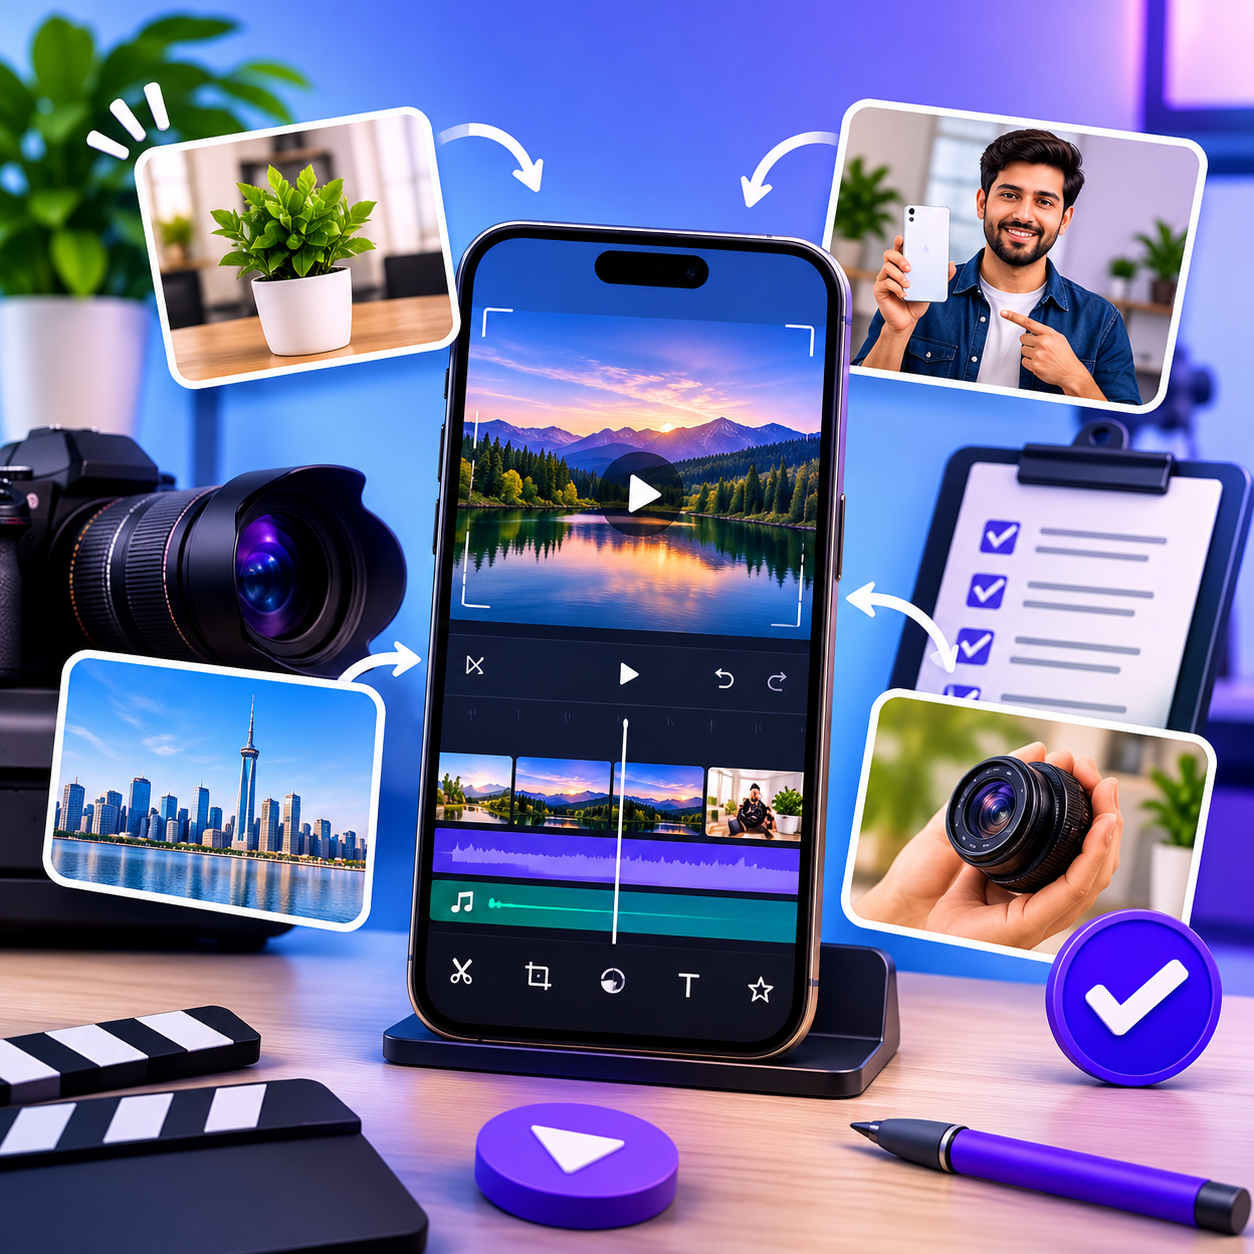
Updated: November 22, 2026 · Filming preparation and editing workflow · By Kawya Aki
A video can become difficult to edit long before you open an editor. The usual reason is not a missing effect or a complicated timeline: the footage itself may be incomplete, inconsistent, poorly lit, or recorded without a clear sequence. When you import those clips into KwaiCut, you may spend more time hiding mistakes and searching for usable moments than shaping the story. This guide takes a different approach from a feature tutorial. It explains how to plan and record footage so that your next KwaiCut project is easier to assemble, more coherent, and less dependent on emergency fixes.
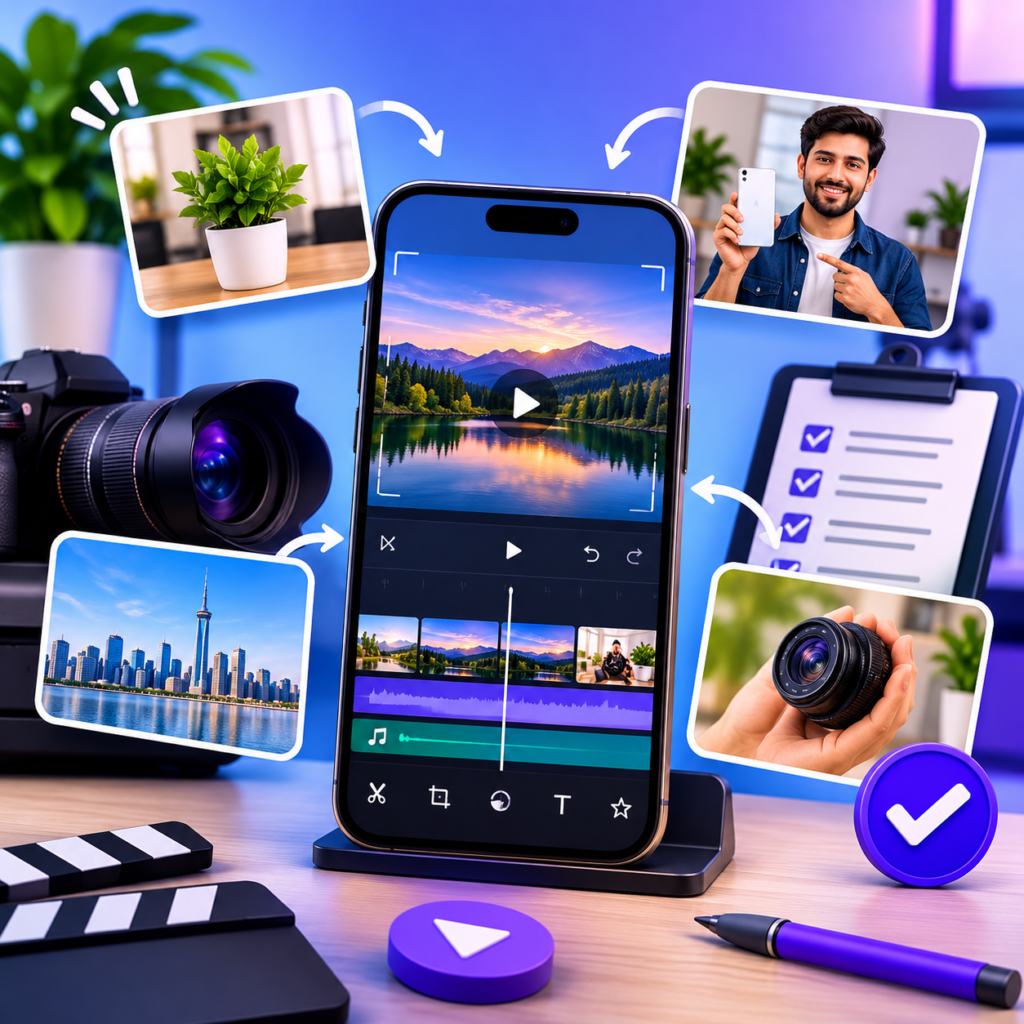
Who this guide is for: creators recording tutorials, product demonstrations, short social videos, travel clips, or simple talking-head content on a phone. The filming advice is general production guidance. KwaiCut’s official app listing confirms editing functions such as segmentation, cropping, splicing, speed adjustment, audio tools, filters, subtitles, and export options; the exact controls available can vary by app version and device.
Table of Contents
- Start with one clear purpose
- Make a simple shot plan
- Record enough coverage
- Keep framing and movement intentional
- Choose light and location carefully
- Protect your audio while recording
- Maintain continuity between clips
- Organise footage before importing
- Build the first edit in KwaiCut
- Review the story, not just the effects
- Pre-recording checklist
- Frequently asked questions
1. Start with One Clear Purpose
Before recording, finish this sentence: “After watching this video, the viewer should understand or feel ______.” A tutorial may teach one task. A product clip may show how an item looks and works. A travel video may capture the atmosphere of a place. If you cannot describe the purpose in one sentence, the recording session can quickly turn into a collection of unrelated shots.
Choose one main idea and list the information a viewer needs to follow it. For a short tutorial, that might be the result, the materials or starting point, the key steps, and the finished outcome. For a product demonstration, it could be the overall appearance, a close-up of an important detail, the product in use, and a final view. This small outline gives every clip a reason to exist.
Keep the planned video realistic for the time and equipment you have. A simple, complete explanation is usually more useful than a complicated concept that requires footage you cannot capture. You can always make a second video for a related topic instead of forcing every idea into one edit.
2. Make a Simple Shot Plan Before Recording
A shot plan is a short list of the views you need, in roughly the order you expect to use them. It does not have to be a professional storyboard. A note on your phone is enough. The purpose is to prevent the common situation where you finish recording and discover that you never captured the close-up, the result, or the transition between two actions.
For many short videos, three kinds of footage are a useful starting point:
- Wide or establishing view: shows the setting and gives viewers context.
- Medium view: shows the main person, object, or action clearly.
- Close-up or detail: reveals a small feature, hand movement, screen control, or result that may not be visible in the wider shot.
For example, a phone-editing tutorial might begin with the finished video, show the phone and the project, move to a close-up of the action being demonstrated, and finish with the completed result. A cooking clip might show the ingredients, the preparation, a close-up of a key step, and the plated dish. These sequences are examples, not mandatory formats; choose views that genuinely help explain your subject.
Write a short note beside each planned shot: what should be visible, whether the camera should remain still, and whether any spoken explanation is needed. This makes it easier to notice missing footage before you pack away your phone.
3. Record Enough Coverage to Give Yourself Editing Choices
Coverage means recording more than one useful view of the same subject or action. If you record only one long take, you may have no clean way to hide a pause, remove a mistake, or illustrate a point. A second angle or a detail shot can give you options when you assemble the sequence.
For an action that has a clear beginning and end, consider recording a wide view of the complete action and then a closer view of the most important part. Keep the action itself consistent between takes. If a person is demonstrating how to use an object, avoid changing the object’s position or the hand being used without a reason. These details matter when two shots are placed next to each other.
Leave a brief moment before and after the main action instead of starting and stopping the recording at the exact instant something happens. This gives you room to trim the clip without cutting off the movement. Do not record excessive footage without a purpose, though. Extra takes are useful when they provide a different angle, a cleaner performance, or a missing detail—not simply because a longer camera roll feels safer.
4. Keep Framing and Camera Movement Intentional
Before pressing record, check the edges of the frame. Make sure the main subject is not cut off, distracting objects are not sticking out behind a person’s head, and there is enough room for the action. If the video is intended for a vertical feed, record with that final orientation in mind whenever possible. Cropping a horizontal recording later may remove important details or leave too little space around the subject.
Hold the phone with both hands, rest your arms against a stable surface, or use a suitable support when a shot needs to remain still. Move the camera only when the movement reveals something useful. A slow, deliberate move toward a product detail can guide attention; repeated small shakes and unnecessary pans make it harder to understand what matters.
Keep the subject’s position reasonably consistent when recording several shots that will be joined together. If the subject suddenly jumps from one side of the frame to the other, the edit may feel accidental. You can intentionally change framing to create variety, but do it with a clear visual reason.
5. Choose Light and Location Carefully
Look at the light before recording rather than expecting an editing filter to repair every problem. A window or soft light source facing the subject can make a face or object easier to see. If the strongest light is directly behind the subject, the camera may expose for the bright background and leave the subject too dark. Change your position, adjust the light, or use a suitable fill light if available.
Check whether the lighting changes between planned shots. A clip recorded beside a window in the morning may look noticeably different from a second clip recorded later when the sunlight has moved. If you need matching shots, record them close together in time or keep the light source and camera position consistent.
Also inspect the background. Remove unrelated clutter, bright distractions, or private information that should not appear in the final video. For a screen recording or phone demonstration, check notifications, names, messages, and account details before filming. A clean background helps the viewer focus and protects information that was never meant to be published.
6. Protect Your Audio While Recording
Good audio starts at the recording location. Listen for fans, traffic, television, wind, echoes, and nearby conversations. Move closer to the speaker or use a suitable microphone if one is available. Record a short test and listen to it through headphones before capturing the full explanation. A phone’s built-in microphone can work for a simple recording, but distance and background noise still affect clarity.
When recording spoken instructions, speak at a natural pace and keep a consistent distance from the microphone. If you make a mistake, pause and repeat the sentence rather than continuing with several false starts. That makes it easier to identify the clean take later. Capture a few seconds of the room’s natural background sound when it is useful for smoothing audio edits, but do not treat it as a substitute for clear speech.
KwaiCut’s official app listing describes audio noise reduction and sound-effect or music tools. These can help during editing, but they cannot reliably restore words that were never captured clearly. Start with the cleanest recording you can make, then use editing tools for modest improvements.
7. Maintain Continuity Between Clips
Continuity is the sense that separate shots belong to the same moment or sequence. Viewers may notice a sudden change even when they cannot explain why: a cup moves to the other side of the table, a sleeve changes, a product turns around, or the lighting becomes much brighter. These mismatches can make a simple video feel unfinished.
When recording multiple takes, keep important details stable. Note where objects are placed, which hand performs the action, and where the subject is looking. If you intentionally change the position, show the movement or use a new angle that makes the change feel natural. Take a quick reference photo of a setup if you need to recreate it after a break.
Continuity also applies to screen demonstrations. Keep the device orientation consistent, avoid switching between unrelated screens without explaining why, and make sure the action shown in the close-up matches the action described in the narration. If an app interface has changed since an older recording, do not combine old and new footage in a way that suggests they are the same version.
8. Organise Your Footage Before Importing It into KwaiCut
Do a quick review of the camera roll while the recording session is still fresh in your mind. Remove obvious accidental takes only after confirming that they are not the only copy of a useful moment. Mark or note the strongest takes, and group related footage in an album or folder if your device supports it. Simple labels such as “opening”, “close-up”, “voice”, and “final result” can save time when a project contains many clips.
Keep original recordings until the finished project has been checked and backed up. Avoid deleting source footage simply because it has already been imported into an editor. If a project needs to be revised later, the original clips may be valuable. Make sure there is enough free storage on the phone for both the source footage and the exported video.
For important work, keep a second copy in a secure location you control. Do not upload private footage to an unfamiliar file-sharing service just to make a backup. If the video includes other people, personal documents, or private locations, consider who can access the files and whether you have permission to record and publish them.
9. Build the First Edit in KwaiCut Without Overcomplicating It
Once the footage is organised, open KwaiCut and create a project using the clips that support your planned story. The app’s official listing describes segmentation, cropping, and splicing, which are useful for arranging and refining a sequence. Interface labels and project options may differ between versions, so follow the controls shown in your installed app.
- Place the main clips in story order. Build a beginning, middle, and ending before adding decorative elements.
- Remove unusable sections. Trim accidental starts, long pauses, repeated actions, and moments that do not help the viewer.
- Add detail shots where they explain something. Use a close-up to clarify a step or reveal a feature, not just to make the timeline busier.
- Check the rhythm. Let important actions remain on screen long enough to understand. Shorten empty waiting time, but do not make every cut so fast that the viewer loses context.
- Balance the sound. Make spoken instructions understandable before adding background music or sound effects.
- Add text only where it helps. Use a title or brief label to introduce a section, and keep longer explanations in the narration or captions.
- Apply visual effects with restraint. A filter or transition should support the mood or clarify a change, not distract from the subject.
- Preview the complete sequence. Watch from the opening to the final frame and note any confusing jump or missing step.
Do not try to make the first pass perfect. Its job is to establish the story. Once the sequence makes sense without effects, refine the details. If you need a refresher on the editor’s basic controls, see our KwaiCut beginner’s guide. For a separate explanation of the app’s available tools, visit KwaiCut features and tools.
10. Review the Story, Not Just the Effects
Before export, watch the video once as if you know nothing about the subject. Can you understand what is happening? Is the purpose clear in the opening? Does each shot add information? Is there a missing step that only the creator would know? This review often reveals more important problems than checking whether every transition looks impressive.
Then review the technical details: framing, focus, exposure, sound level, spelling, and any private information visible in the footage. Check that the final shot does not cut off too abruptly and that the video does not contain a long accidental pause after the main content ends. Watch the exported file as well as the editor preview so you can judge the actual saved result.
If you find a problem, identify its source before changing random settings. A confusing sequence may need a missing shot, not another transition. A dark face may need a better source clip, not a stronger filter. A noisy voice may need a cleaner recording or careful audio adjustment. Fix the cause where possible instead of layering effects over it.
11. Quick Pre-Recording Checklist
- Can I explain the video’s purpose in one sentence?
- Have I listed the opening, main action, detail shots, and ending?
- Is the phone orientation suitable for the intended platform?
- Is the subject framed clearly with room around important details?
- Is the light falling on the subject rather than only behind it?
- Have I listened for background noise and tested the microphone?
- Are objects, clothing, and screen views consistent between takes?
- Have I checked the background for clutter and private information?
- Did I record a clean version of each important action?
- Are the original clips organised and safely retained?
Related KwaiCut Guides
Continue learning with these related guides from KwaiCutGuide:
Frequently Asked Questions
Practical answers to common questions about preparing footage for a KwaiCut project.
Should I plan every shot before recording?
You do not need a detailed storyboard for every simple video. A short list of the opening, key actions, close-ups, and ending is often enough to prevent missing footage.
Is vertical recording better for KwaiCut?
Choose the orientation based on where the finished video will be watched. Vertical footage is convenient for vertical feeds, while landscape may suit tutorials or platforms where a wide frame is expected.
Why should I record extra seconds before and after an action?
A little extra footage gives you room to trim the beginning and ending cleanly. It can prevent a movement or spoken word from being cut off at the edit point.
Do filters fix badly lit footage?
Filters can change the appearance of a clip, but they cannot reliably recover detail that was never captured. Improve the light and exposure while recording whenever possible.
Should I record voice and video together?
For a straightforward explanation, recording them together can be convenient. For a noisy location or a carefully scripted tutorial, recording a separate voice track may give you more control. Test the method before the full session.
How can I avoid continuity mistakes?
Keep object positions, clothing, camera direction, and lighting consistent between takes. A quick reference photo can help you recreate a setup after a break.
Should I delete original clips after importing them?
It is safer to keep the original recordings until the project and exported file have been checked and backed up. You may need the source footage for a later revision.
Can KwaiCut remove background noise?
The official app listing describes an audio noise-reduction feature. Results depend on the recording, so start with a quiet location and test any processing before using it throughout a project.
What should I check before publishing a video with other people in it?
Consider whether you have permission to record and publish identifiable people, and remove private details that are not needed. Follow the rules that apply where you record and where you share the video.
Where can I check the current KwaiCut editing tools?
Check the current official Google Play listing or Apple App Store listing, then compare it with the controls shown in your installed app. Features and labels can change after updates.
Official Information and Further Reading
For the current list of KwaiCut editing capabilities, consult the publisher’s Google Play listing and Apple App Store listing. For general video-production planning, the Adobe storyboard overview explains how planning shots can help organise a visual sequence.
Editorial note: KwaiCutGuide is an independent educational website. It is not affiliated with, endorsed by, or an official support channel for Kwai or KwaiCut. App features and interface labels may change. Always check the current app version and obtain appropriate permission before recording or publishing other people or their work.
About the Author
Kawya Aki writes practical learning resources for KwaiCutGuide, focusing on mobile video editing, clear creative workflows, and responsible publishing. The aim is to help readers prepare stronger footage and make more deliberate editing decisions.