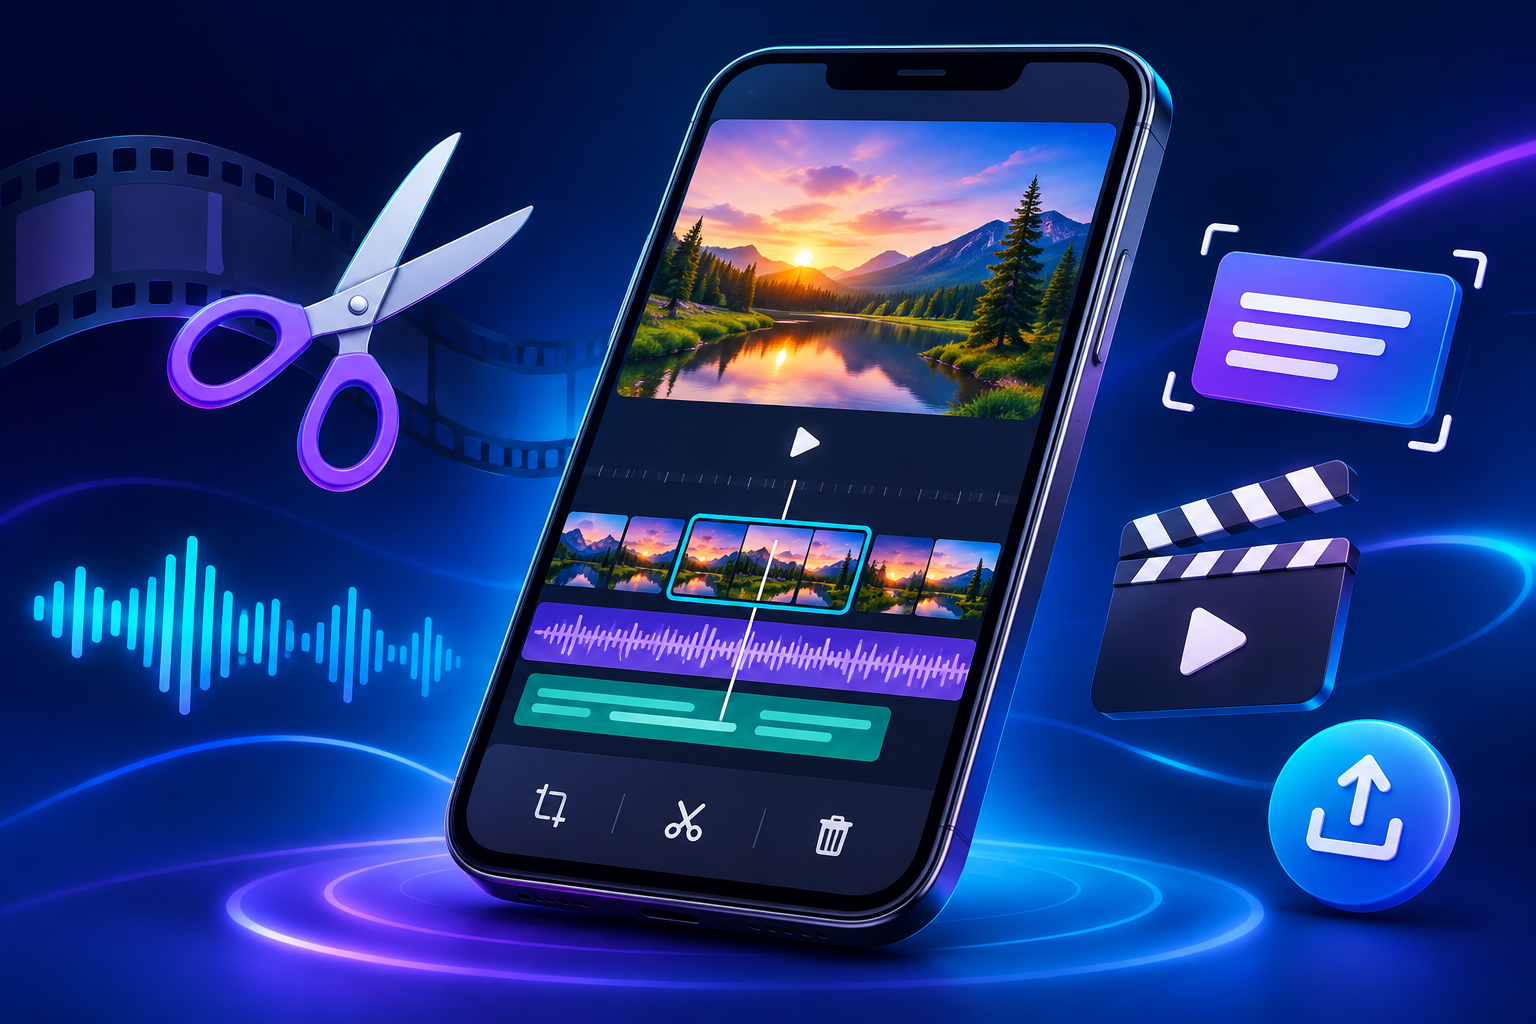
Updated: November 22, 2026 · Beginner guide · By Kawya Aki
Want to learn how to edit videos on your phone without feeling overwhelmed by dozens of buttons? This complete KwaiCut video editor beginner guide explains the workflow from starting a project to exporting a clean final video. You will learn how to organise clips, trim and split footage, add subtitles and music, use filters responsibly, adjust speed, solve common problems, and check your finished video before sharing.
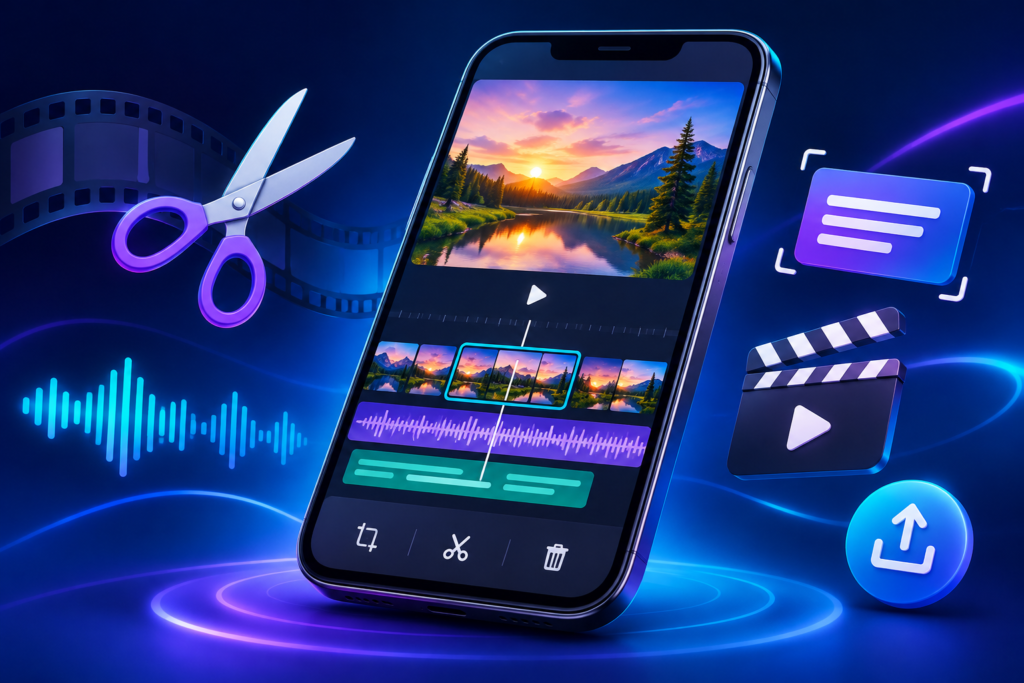
Quick answer: KwaiCut is a mobile video editor from Kwai Technology Limited. Its official app listings describe tools for cutting, cropping, joining, reversing, and changing the speed of clips, along with subtitles, audio, filters, stickers, and export options. Features can vary by device and version, so use this guide as a practical learning path and check your app’s current interface.
Table of Contents
- What is KwaiCut?
- Who is this guide for?
- Prepare your footage
- Understand the editing workspace
- Step-by-step editing workflow
- Common problems and fixes
- First-project practice exercise
- Privacy and copyright
- Frequently asked questions
What Is KwaiCut Video Editor?
KwaiCut is a mobile video-editing application published by Kwai Technology Limited. Its official app listings describe tools for cutting and joining clips, cropping footage, changing playback speed, reversing video, adding music and sound effects, editing subtitles, applying filters, placing stickers, and exporting finished videos in different resolutions. The exact options available can depend on your device, app version, region, and project.
Think of a video editor as a small production workspace. Your recordings are the raw material; the timeline is where you arrange them, remove sections that do not help the story, and add captions or audio. The preview lets you inspect the result, while exporting creates a video file that can be saved or shared. Understanding this overall process is more useful than memorising every icon on your first day.
Who Is This Guide For?
This guide is intended for people learning mobile video editing from the beginning and for creators who want a clear refresher. You might be preparing a short social video, a family montage, a product demonstration, a school project, a travel recap, or a simple tutorial. Each type of video has a different purpose, but the basic workflow remains similar: plan, import, arrange, edit, review, and export.
If you are completely new, do not try to use every effect in your first project. Start with three or four short clips and make a simple sequence. Once you understand how to select a clip, move through the timeline, and preview a change, gradually explore text, music, filters, stickers, and speed controls.
Prepare Your Footage Before Editing
Good editing begins before you open the app. Decide what the video should communicate and who is likely to watch it. A product demonstration needs clear views of the product; a travel montage needs a sense of place; a tutorial needs shots that show each step in a logical order. Write a one-sentence purpose for the video, then select only the recordings that support it.
Check that your source videos play correctly and that the important moments are present. If a clip contains private information, notifications, documents, or people who have not agreed to appear, decide whether it should be cropped, obscured using an appropriate tool, or left out. Keep an untouched copy of original files. Also check available storage and battery before a long session: video files can be large, and exporting may require additional temporary space.
Understand the Editing Workspace
When you open a project, look for the media area, preview window, timeline, and editing controls. The media area is where you select recordings or other assets. The preview shows the current frame. The timeline represents the order and duration of clips, and a playhead or position marker indicates the point currently being previewed.
Do not worry if your screen looks different from a tutorial image. App layouts can change between releases and device sizes. Focus on what a control does rather than relying only on its position. Select a practice clip and observe which actions become available. Move the playhead and watch the preview. If you are unsure what a button does, test it on a duplicate or practice project before applying it to important work.
Step-by-Step: How to Edit a Video in KwaiCut
Start a new project using the option provided in your version of KwaiCut. Select the videos you want to include and confirm the selection. If the app asks for access to photos or media, grant only the permissions needed for the task and review your device’s privacy settings if you are unsure. Arrange the clips in the order that makes the most sense to a first-time viewer.
Watch the sequence once before making detailed edits. Notice whether the opening quickly shows what the video is about, whether the middle contains the main information, and whether the ending feels complete. Move clips into a clearer order if needed. A strong sequence does not have to be complicated. A simple beginning, middle, and ending is often enough for a short video.
Step 2: Trim, Split, and Arrange the Timeline
Trimming shortens the beginning or end of a clip. Splitting divides one clip at a selected point so that the resulting sections can be edited separately. These are two of the most useful beginner skills because they help remove pauses, mistakes, repeated actions, and footage that does not support the story. Select the clip, locate the section you want to change, and use the relevant trim or split control shown by the app.
For a split, position the playhead carefully at the point where you want the separation. Apply the split command and inspect both resulting sections. You can then remove an unwanted part or move a segment if your editing layout permits it. For a trim, adjust the clip edge to shorten the visible portion. The exact gesture and button label may differ by version, so follow the control shown on your device.
After every important cut, play a few seconds before and after the edit. Check that the action does not jump unexpectedly and that the audio does not become awkward. If a clip contains speech, avoid cutting in the middle of a word. Smooth editing is usually about choosing the right moments, not adding more transitions.
Step 3: Crop and Frame Your Video
Cropping changes which part of the original image remains visible. It can remove empty space, focus attention on a subject, or prepare a clip for a different screen shape. Before cropping, decide where the video will be watched. Vertical framing is common for phone-first short videos, while horizontal framing is often useful for widescreen viewing. A square frame may suit some social layouts. Check the current requirements of the platform where you plan to publish.
Keep important faces, products, signs, and captions away from the extreme edges. Different devices and apps may display overlays or crop previews differently. If your source clip is horizontal but the final project is vertical, inspect the crop carefully so that the main subject does not disappear. Avoid enlarging footage more than necessary, because heavy scaling can make the image look soft or pixelated.
Step 4: Add Text and Subtitles
Text can introduce a topic, identify a person or place, explain a step, or highlight a key point. Keep titles short and use a font that remains legible on a small phone screen. Strong contrast between text and background improves readability. If the background is busy, place text over a simple area or use a subtle backing style if the editor offers one. Keep important words away from the edges and leave enough time for viewers to read them.
The official KwaiCut app descriptions mention manual subtitle tools and subtitle styles, although the exact choices can change. If you add captions manually, check every line for spelling, punctuation, names, and timing. If your version includes automatic or assisted captions, review the result carefully: speech recognition can mishear accents, names, technical terms, and words covered by background noise.
Use consistent text styling throughout the project so the video feels organised. Avoid putting too many words on screen at once. Captions should support the message, not compete with it. If you are creating a tutorial, use text to explain an action that may not be obvious from the picture.
Step 5: Add Music and Improve Audio
Audio helps establish mood and makes a video easier to follow. If someone is speaking, their voice should remain clear and understandable. Background music should support the content rather than overpower it. If separate volume controls are available, adjust the voice and music while listening through ordinary headphones or speakers. Preview the start and end of the audio track, because an abrupt beginning or cutoff can make a finished video feel unfinished.
The official KwaiCut listings describe music and sound-effect options, and the Google Play listing mentions audio noise reduction. Availability and labels may differ by platform or version. If you use noise reduction, compare the processed sound with the original. Strong processing can sometimes make a voice sound unnatural. Listen for distortion, sudden changes in loudness, and sections where speech becomes difficult to understand.
Copyright matters when choosing music. A track appearing in an app does not automatically mean it can be used for every purpose, country, account type, advertisement, or external platform. Read the applicable licence and platform rules before using music in public or commercial content.
Step 6: Use Filters, Stickers, and Effects Carefully
Filters can give clips a consistent appearance, while stickers and effects can add emphasis or personality. Start with a subtle adjustment and compare the result with the original footage. Check skin tones, bright areas, shadows, and fine details. A filter that looks attractive on one clip may not suit footage recorded in different lighting. Consistency across the full video is usually more important than choosing the strongest effect.
Stickers can be useful when they point out an object, reinforce a light-hearted moment, or add a small visual cue. Avoid covering faces, product details, subtitles, or other information the viewer needs to see. Transitions should help viewers understand a change of scene or topic. A simple cut is often the cleanest choice; too many different transitions can make a short edit feel distracting.
Step 7: Change Speed or Reverse a Clip
Speed controls can make a clip feel faster, slower, or more dramatic. A faster section can shorten repetitive footage, while slow motion can draw attention to a specific action. Reversing a clip can create a creative effect, but it may look confusing if the viewer cannot understand what is happening. The official app listings describe speed adjustment and reverse functions; the available controls may vary by release.
Use speed changes intentionally. If a clip contains speech, changing its speed may affect how natural the voice sounds. If you slow footage down too far, the result may look less smooth depending on the original frame rate and the app’s processing. Preview the full section after changing speed, and check that the action still makes sense.
Step 8: Review and Export Your Finished Video
Before exporting, watch the entire project from beginning to end. Check the opening, clip order, cuts, captions, audio levels, transitions, and final frame. Look for spelling errors, accidental blank spaces, duplicated footage, and private details that should not be public. If the video includes music or third-party visuals, confirm that you have the necessary rights for the intended use.
Resolution describes the dimensions of the video frame. Frame rate describes how many frames are shown per second. Bitrate affects how much data is used to represent the video. Higher settings can create larger files and take more time to export; they do not automatically improve footage that was recorded at low quality. Choose a setting that suits the source video, your device, and the destination platform.
After export, open the saved video separately. Do not judge quality only from the editor preview. Check that the file plays from start to finish, has the correct orientation, includes the expected sound, and does not contain unexpected black borders or missing sections. Keep the project file and a final exported copy in clearly named folders if you may need to revise the video later.
Common Beginner Problems and Practical Fixes
If the timeline feels slow, close other demanding apps and check available storage. Large clips, long projects, several effects, and limited device resources can all affect performance. Restarting the app may help with a temporary problem, but save your project first if possible. Check for updates through the official app store rather than downloading modified or unofficial packages.
If export fails, note any error message and whether the problem occurs with every project or only one. Try exporting a short section from a duplicate project. Confirm that there is enough free space and that the app has the required media permissions. If a particular clip or effect appears to trigger the failure, test a copy without that element. Keep the original project untouched until you understand what caused the issue.
If the exported video looks blurry, check the source footage, crop amount, export resolution, and destination platform’s processing. If audio is missing, inspect the volume settings and confirm that the relevant audio track is enabled. If captions are difficult to read, increase their size or contrast and preview the result on a phone. Change one setting at a time so you can identify which adjustment actually helps.
A Simple First-Project Practice Exercise
Choose three short clips that show one activity, such as preparing a drink, arranging a desk, or demonstrating a small product. Put them in a logical order. Trim unnecessary pauses and make one clean split if you need to remove a section from the middle. Add a short opening title, then add one caption that explains an important step. If you have suitable licensed audio, place it quietly beneath the main sound.
Choose a frame shape that suits your intended destination and check that the subject remains visible. Apply no more than one subtle filter or effect. Preview the complete video and correct timing or spelling issues. Export a test copy using a suitable preset, then watch the saved file outside the editor. This small exercise teaches the core workflow without requiring a complicated project.
Privacy, Copyright, and Responsible Publishing
A finished video can reveal more than its creator intended. Before sharing, inspect the background for private messages, addresses, documents, phone numbers, vehicle plates, or notifications. Obtain permission where appropriate before publishing identifiable footage of other people. If the video is for a business or client, agree who is responsible for permissions, music licences, and ownership of the final files.
Do not assume that an image, sound, font, or video found online is free to reuse. Check its licence and any attribution conditions. Avoid copying another creator’s tutorial, script, or design and presenting it as your own. Keep records of licences and permissions, especially for commercial projects. Review the privacy and data-safety information provided by the app publisher and your device platform.
Explore More KwaiCut Tutorials
KwaiCutGuide organises learning resources into three focused categories. KwaiCut Tutorials is the place to start when you want step-by-step help with a complete editing task. KwaiCut Features & Tools focuses on individual tools and creative options. KwaiCut Tips & Troubleshooting is intended for practical advice about performance, export errors, quality, and other common problems. Choose the category that best matches the question you are trying to solve.
App interfaces and features can change. If a button in a tutorial does not appear on your device, compare your installed version with the current official listing and check the publisher’s support information. You can also contact KwaiCutGuide to report an outdated instruction or suggest a topic. Include the article address, device type, app version, and a short description of what you see, but do not send passwords or private account details.
Related KwaiCut Guides
Continue learning with these related guides from KwaiCutGuide:
- KwaiCut Features and Tools Explained
- KwaiCut Subtitles and Text Styling
- KwaiCut for PC
- KwaiCut APK Download and Safe Installation
- Fix KwaiCut Export Problems
- Plan Better Videos Before Editing in KwaiCut
Frequently Asked Questions About KwaiCut
Find quick, practical answers to common questions. If an option looks different in your app, check your installed version because features and interface labels can change.
Is KwaiCut free to use?
The official app listings describe KwaiCut as free to download or use, but availability, in-app purchases, optional services, and regional terms can change. Check the current Google Play or Apple App Store listing on your device.
Is KwaiCut suitable for beginners?
It can be approached by beginners because the core editing process is straightforward: add clips, arrange them, trim unwanted parts, add supporting elements, review, and export. Start with a small practice project.
Can I trim and split videos in KwaiCut?
The official app descriptions list video segmentation, cropping, and joining capabilities. The exact button names and gestures may differ by version. Preview the cut to make sure the action and audio remain natural.
Can I add subtitles, text, and music?
The official listings describe manual subtitle tools, subtitle styles, music, and sound-effect options. Check the tools available in your installed version and review captions for accuracy and timing.
Can KwaiCut improve noisy audio?
The Google Play app description mentions audio noise reduction. Results depend on the recording and amount of background noise. Compare processed audio with the original.
Which export resolution should I choose?
Choose a resolution that matches your source footage and the requirements of the platform where you plan to share the video. Higher resolution creates a larger file and cannot restore detail missing from the original.
Why does my video look blurry after export?
Check original clip quality, crop or zoom level, export settings, and compression applied by the destination platform. Open the saved file itself and compare it with the original footage.
What should I do if KwaiCut freezes or export fails?
Save your work if possible, check free storage, close other demanding apps, restart the editor, and check for official updates. Test a short section from a duplicate project.
Can I use any song in my KwaiCut video?
No. Music may be protected by copyright or limited by a licence. Confirm that the licence covers your intended platform and whether the video is personal, public, or commercial.
Is KwaiCutGuide the official KwaiCut website?
No. KwaiCutGuide is an independent educational website, not affiliated with, endorsed by, or an official support channel for Kwai or KwaiCut.
Official App Information and Further Reading
For current availability, publisher information, and version-specific details, check the official listings: KwaiCut on Google Play and KwaiCut on the Apple App Store. These listings describe published features; they do not guarantee that every feature is available on every device.
Editorial note: This is an independent educational guide, not an official product manual. KwaiCutGuide is not affiliated with or endorsed by Kwai Technology Limited. Interface names and features may change after app updates. Always check the current app and publisher information before relying on a particular option.
About the Author
Kawya Aki writes practical, beginner-friendly learning resources for KwaiCutGuide, with a focus on mobile video editing workflows, app features, and troubleshooting. The goal is to explain editing concepts clearly so readers can make informed choices and build their skills step by step.
3 thoughts on “KwaiCut Video Editor: Complete Beginner’s Guide (2026)”
Comments are closed.